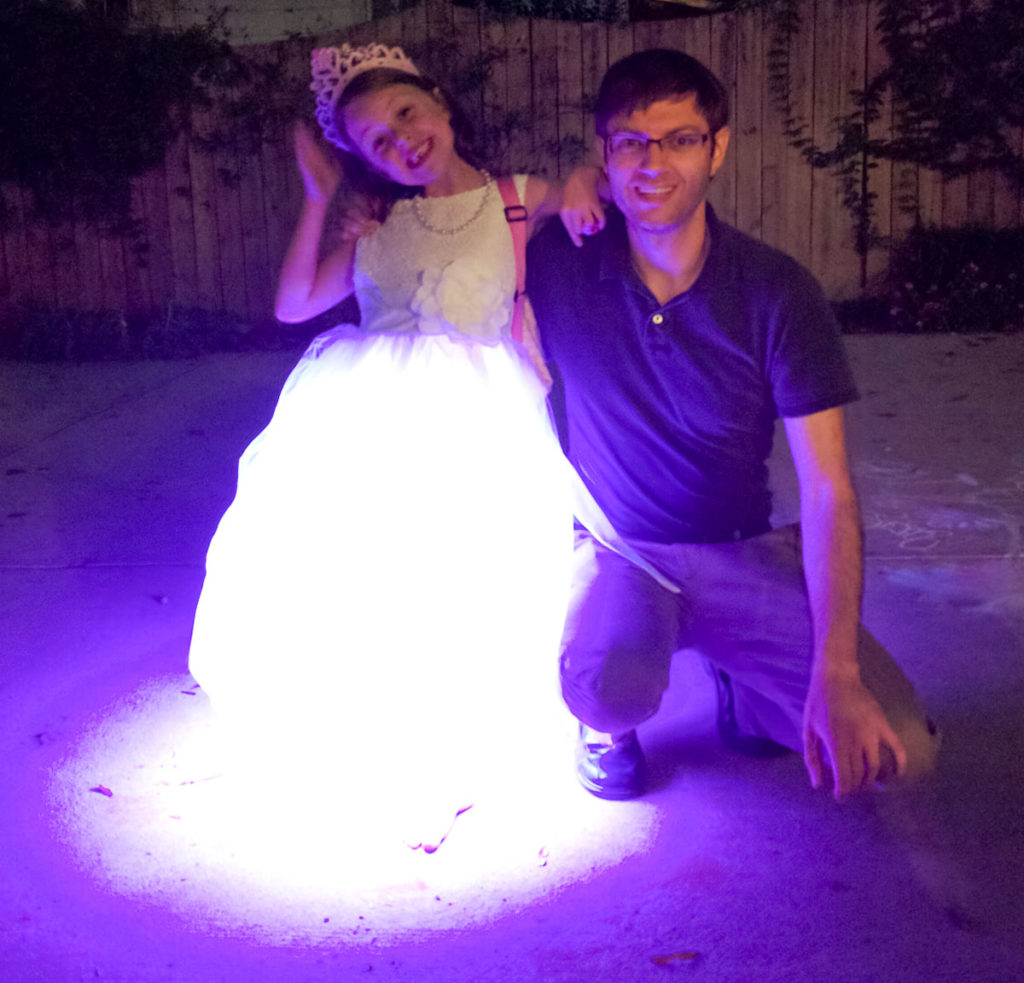
My niece wanted to be a princess for Halloween in 2016 so I decided to make her something unique, a color changing light-up LED dress. I over-complicated the build as what normally happens normally the first time you make something. I learned a lot from the process and many ways to improve upon the design, hopefully I can help someone else looking to make an LED dress. All in I spent about $120, $45 of which were the dress and petticoat.
How to Measure Carbon Dioxide (CO2) Levels, Indoor Air Quality
In this article I will show how to measure carbon dioxide levels in your home. An important factor to test for when trying to measure indoor air quality (IAQ) is carbon dioxide. Tight homes with not enough ventilation and/or buildings with high occupancy are the usual candidates to having elevated carbon dioxide (CO2) levels, it is easy and low cost to measure CO2 levels. There is data from Lawrence Berkeley Lab that shows elevated indoor carbon dioxide (CO2) levels does impair cognitive abilities.
With that said it is important to remember carbon dioxide is only a part of a much larger indoor air quality picture. There are many contaminants that can be in the air in the following categories; particulate, biological, chemical / VOC, and gases. These are such things as dust mites, pollen, mold spores, mycotoxins, endotoxins, total VOCs, radon, and ozone just to name a few. These are all also influenced by temperature and humidity so only doing a carbon dioxide measurement is not going to give you enough data to have a good understanding of the state of your indoor air quality but it is a important data point.
DIY Formaldehyde Testing, Indoor Air Quality
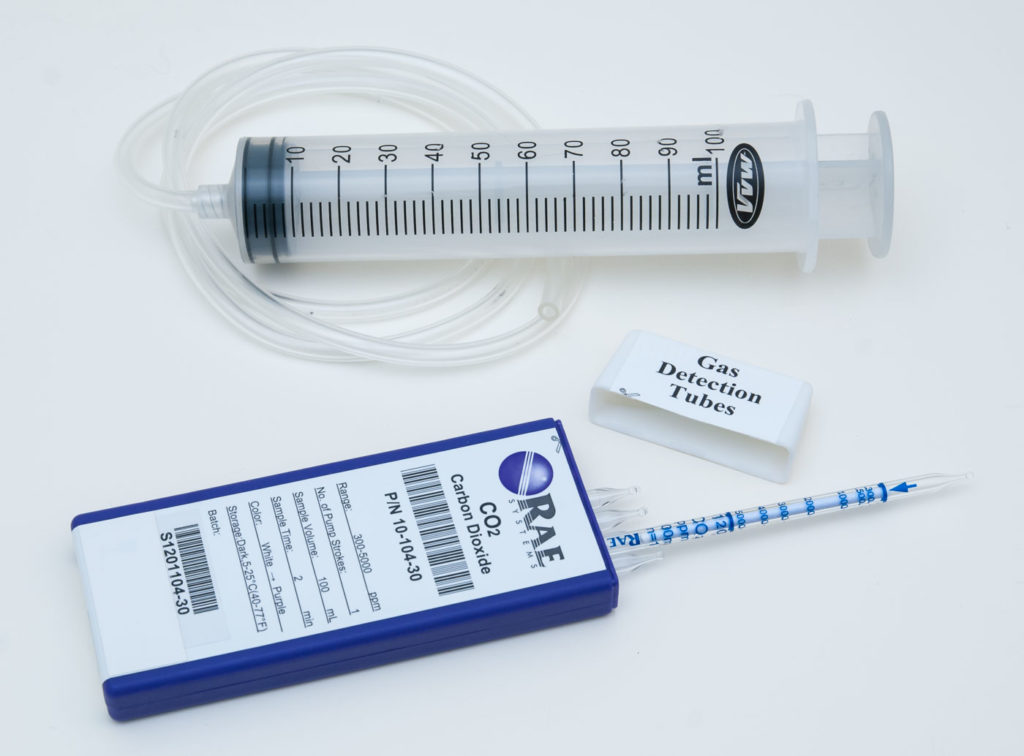
After having very little luck with a digital formaldehyde meter to test indoor air quality I decided it was time to switch to a more proven way to do DIY formaldehyde testing. I did a lot of research and decided to try colorimetric gas detector tubes to measure formaldehyde levels which don’t require sending samples off to a lab. The most common way for homeowners to test formaldehyde levels is using a sampler which is placed in a room for 24 hours then sealed up and mailed off to a lab for analysis. Some of the home test kits have a test tube and an air pump which you run for about 30 minutes, these are more expensive tests and also require sending away to a lab. If you only want one data point then mailing off an air sample to the lab is more cost effective. I wanted quick results from measurements so I could make a change and see the impact without having to wait for a lab so a formaldehyde colorimetric gas detector tube was the logical choice outside of an electronic meter.
To use colorimetric gas detector tubes you need a few things; a gas detector tube for the specific gas you are testing for, an air sampling pump that can accurately meter a specific amount of air through the tube, a thermometer to make corrections to the formaldehyde detector tube’s reading. I went through a lot of trial and error trying to find a good low cost air pump, partway into this project I found the Public Lab formaldehyde testing article which is a great resource. In the Public Lab article they used a modified aquarium pump for their air pump which works well and the article helped me wrap up the details to get this test setup up and running. I wanted to expand upon the Public Lab article and go into more detail for anyone interested in doing VOC and formaldehyde indoor air quality testing using colorimetric gas detector tubes.
The air sampling pump, flow meter, and other miscellaneous parts I used can be sourced for about $70 which is a one time purchase. The Kitagawa 710 formaldehyde test tubes are about $135 shipped for a box of 20, the GASTEC 91PL tubes are $83 shipped for a box of 10. The cost per test excluding the one time equipment purchase is $6.75 for the Kitagawa 710 tubes (but requires a larger purchase price up front) and $8.30 for the GASTEC 91PL tubes. I went with the Kitagawa 710 tubes as I wanted to do more than 10 tests.

ERV/HRV Ventilator Setup, Balancing, and Micro-balancing
1. ERV/HRV Balancing Background and Overview
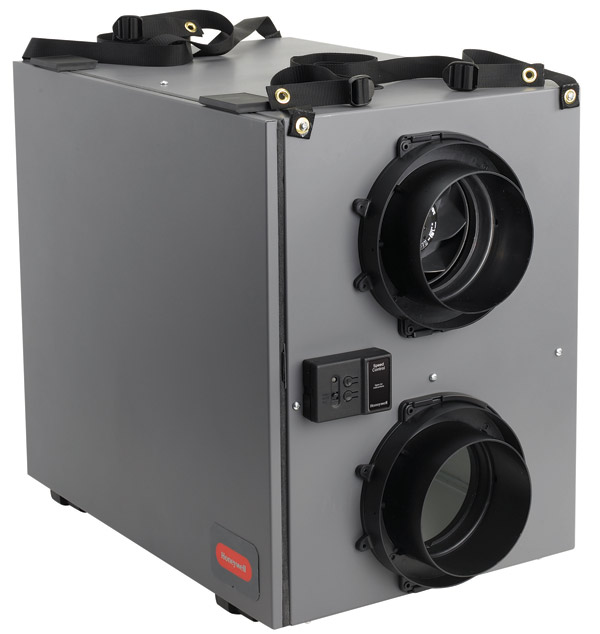
I decided to write this guide after reading through the Honeywell install manual for a ERV and HRV I installed and being very dissatisfied with the ventilator balancing instructions. I figured there must be others out there wanting some clarity on how to balance a ERV/HRV properly. Balancing a ventilation system is something normally left for the pros, but an extreme DIY’er can do it if they have a good understanding of the whole system. It is possible to balance your ERV or HRV without any special tools like a manometer or magnehelic differential pressure gauge if absolutely needed, which I will explain below, but still best to have some measurement devices. A word of caution, this is something you don’t want to mess up, proper balanced ventilation is absolutely essential in certain climates. In the north, where vapor barriers are used, if the house is under positive pressure you will be pushing moist air into the wall cavities in the winter where it can condensate. But regardless of the climate it is still important to have a balanced system. If you have any doubt get a pro in to do it. I will not dive too much into how to install a whole house ventilator as it is outside the scope of this article and something best left to a pro if you are unsure of how to do it.
Extech Formaldehyde (CH2O and HCHO) Meter Review
Introduction
I started diving into research about Formaldehyde and how to measure it after my parents started having indoor air quality issues in a house they recently bought and remodeled. I wanted to get some quantifiable metrics on what I could so I purchased a formaldehyde meter and sent off some air samples to a lab for testing. I know this is only a small piece of a much larger picture in terms of indoor air quality (IAQ) but it seems to be an important part of the VOC side of IAQ.
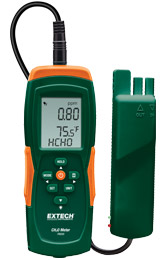
The meter I ended up purchasing is the Extech Instruments FM200 Formaldehyde (CH2O or HCHO) Meter, I have had good experiences with Extech equipment in the past but as you will find in this review I was severely disappointed this time.
DIY Light Therapy Light, Sunlight Simulation SAD Light
1. Light Therapy Overview & Introduction
Sunlight simulation and light therapy light boxes are commonly used as light therapy for treatment of Seasonal Affective Disorder (SAD). My mom has SAD and after seeing her wimpy light box I thought there had to be something better out there, after some research I was really surprised at the underwhelming sunlight simulator light therapy options on the market. When I started this project my parents lived in the Northern Virginia \ DC area of USA where there are many overcast days in the winter months. I love bright work lighting and lighting in general so part of me was happy that was not there was not a good option available on the market so I could be creative and make my own for her. Most light therapy boxes use fluorescent lighting which I have never liked due to its spikes in a few bands on the spectral power distribution (spectral distribution or emission spectra, discussed below). I love the full spectrum light of incandescent and halogens but to get a light bright enough to work for light therapy I needed a bulb in the 1100 watt halogen or 1500 watt incandescent range at minimum (likely much higher for ideal lumens) which is impractical in its power consumption and heat output. The best all around option is a high intensity discharge (HID) light such as a ceramic metal halide which have some of the best Color Rendering Index (CRI), spectral distribution, lifespan, and cost of any non-incandescent light source.
When picking which light source to use for a light therapy box build it is worth noting the other options other than fluorescents and why I did not choose to use them. First LEDs; the LED market is changing so quickly that whatever I say about the current LED options here will shortly be obsolete. When I started this project in 2013, high end, high power LEDs with very good spectral distribution were exponentially more expensive per lumen. To build or buy a high quality LED lamp that outputs 15,000+ lumens would use multiple extremely expensive high power high CRI LED modules and would actually be less efficient lumen output per watt than ceramic metal halide in 2013. Also LEDs have higher output in the blue spectrum than metal halide which is less natural compared to sunlight. LED technology is changing quickly and with time LEDs will likley overtake ceramic metal halide as the go-to choice. The second option was arc lamps like xenon arc or similar. While this is a very appealing lamp in terms of its emission spectral distribution characteristic (just about the best it gets and why they are commonly used in video projectors), metal halides are better from a practical and value standpoint. Xenons arc lamps have short bulb lifes (about the same as an incandescent), are very expensive compared to metal halide, output large amounts of UV, have relatively low luminous efficacy (~40lm\w), and ballast are much harder to find and are more expensive. If money was no object and heat was not an issue a well engineered xenon arc lamp would be the best option.
Metal halides are rarely seen in residential \ consumer lighting mainly due to their long startup times and higher prices but are the logical choice for sunlight simulation when startup times are not critical and will be turned on for long periods of time. Ceramic metal halide lamps are superior over traditional quartz metal halides due to their higher CRI and luminous efficacy which is obtainable from higher internal temperatures. When picking a metal halide bulb for a DIY lighting project there are some important things to keep in mind. Most bulbs are not rated for open enclosures and need some form of protection from a bulb blowout. This and all the bulbs specifications are listed in the bulb choices section. To give some background on what all the terminology is in the bulb comparison table, I have discussed a few keys points in the below section.


